Simon Fell > Its just code > SFX100 Build Log: Step 0.5, 3D Printing
Saturday, October 10, 2020
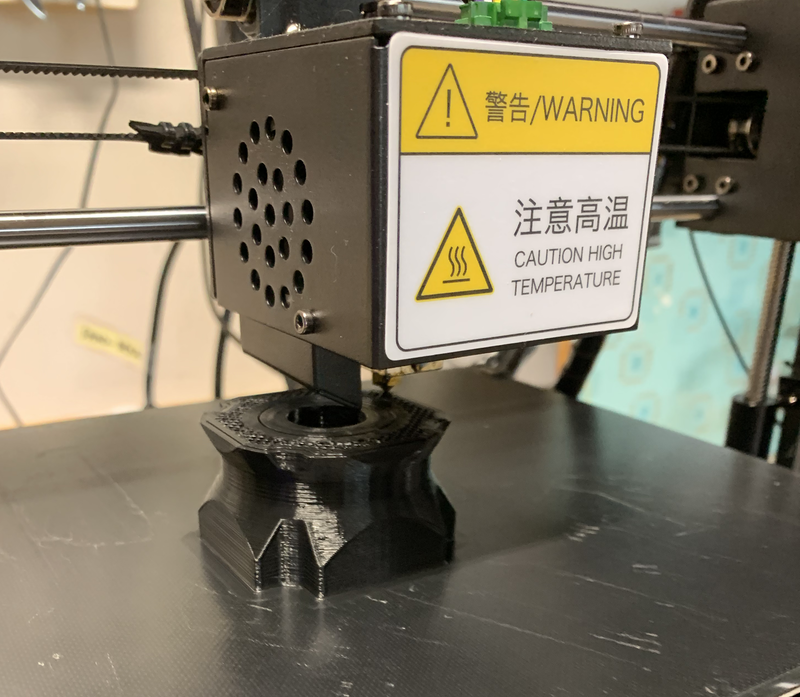
After i ordered the parts, I got started on the 3D printing, there's a lot of it. There's 5 parts to be printed for each actuator. One set of parts takes about 50 hours to print. You can get these printed via a print service. But now that printers are less than $300 it's more economical to buy a printer and print them yourself. Plus as a bonus you'll have a 3D printer at the end of it.
I went with the Anycubic i3 Mega S. It's easy to assemble, just 4 bolts and you're up and running. Getting the print bed level is a PIA, but that seems to be true for all the 3D printers. The Prusa i3 and Ender printers are also popular.
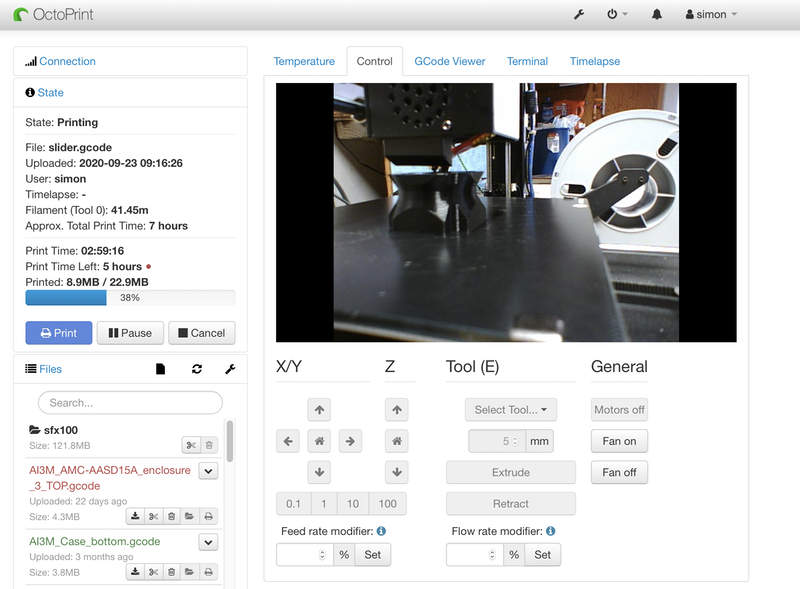
One of the first things i printed was a raspberry pi case/mount so that I could setup Octoprint. This lets you control and monitor your printer from a browser, great for keeping an eye on those 12 hour prints without going out to the garage every time. I use a Sony PS Eye webcam with mine that i picked up for $15. No need to spend more than that for the webcam.
Dimensional accuracy of the prints is important, especially for the slider. Its worth spending the time on some calibration prints first. You'll also want to play close attention to the print profile in the slicer software. The prints are not strong enough with the typical default profile. I setup a custom profile that follows the recommendations. If you're confident in the calibration then go ahead and print all 4 sets. I printed one set first and test fit it to the profile before starting to print the rest.